Arduino + MusicCast
Yamaha’s MusicCast system is my absolute favourite multi-room audio solution. It offers a huge variety of fantastic sounding devices for relatively affordable prices. But the best bit by far is their use of HTTP requests for remote control. This means we can relatively easily control them with dirt cheap wifi-connected micro-controllers.
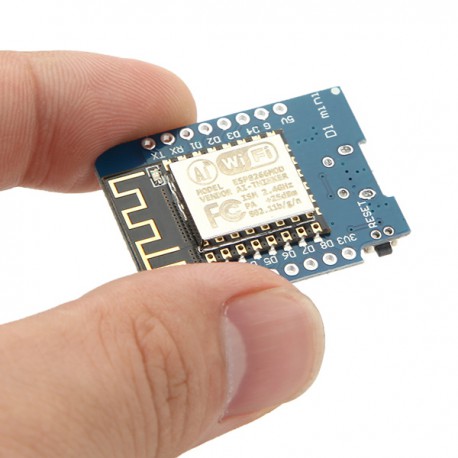
For this tutorial we’re going to use my absolute favourite the ESP8266. Specifically the WEMOS D1-mini. These incredible cheap devices offer a fantastic array of features and can be programmed directly from the Arduino IDE without any additional hardware.

I’ve got ESP8266’s set up all over my house. connected to amazon’s Alexa for my desk lamp. Running the disco lights in my kitchen and controlling my MusicCast setup. Yamaha’s app is alright but i love the convenience of pressing 1 button and having macro like functionality. I’ve got one in my lounge changing the equaliser on my sound bar so it switches to music when using Spotify, and TV when watching TV. One in my bedroom with a screen and rotary encoders so I can hide the amplifier out the way but still easily access all the front panel controls.
You don’t even need to have the micro-controller anywhere near the device it’s controlling it just has to be on the same network.
Background
If you want to skip ahead to the rest of this tutorial feel free but a little background will help you expand on what is shown here and live your best MusicCast life.
MusicCast uses Get/Set HTTP request in a JSON format. This is ideal for what we want to do as this is functionality we can readily import from Arduino libraries.
Hardware
Software
I’m not going to explain how to program an esp8266 from the arduino IDE as this is readily available all over the inter web and explained much better than I can. But I will show you the setup needed if you want to use a WEMOS D1-Mini
Summary
Ollie
An electromechanical systems engineer with passion for all things technology, design and feline.

Functional What-ological Disorder

New Defender
You May Also Like

Tall Frappe WiPi Latte Part II – Software
4th December 2019
